Not building anything yet, just gathering needed components.
Stay tuned!
Update 10/8/16
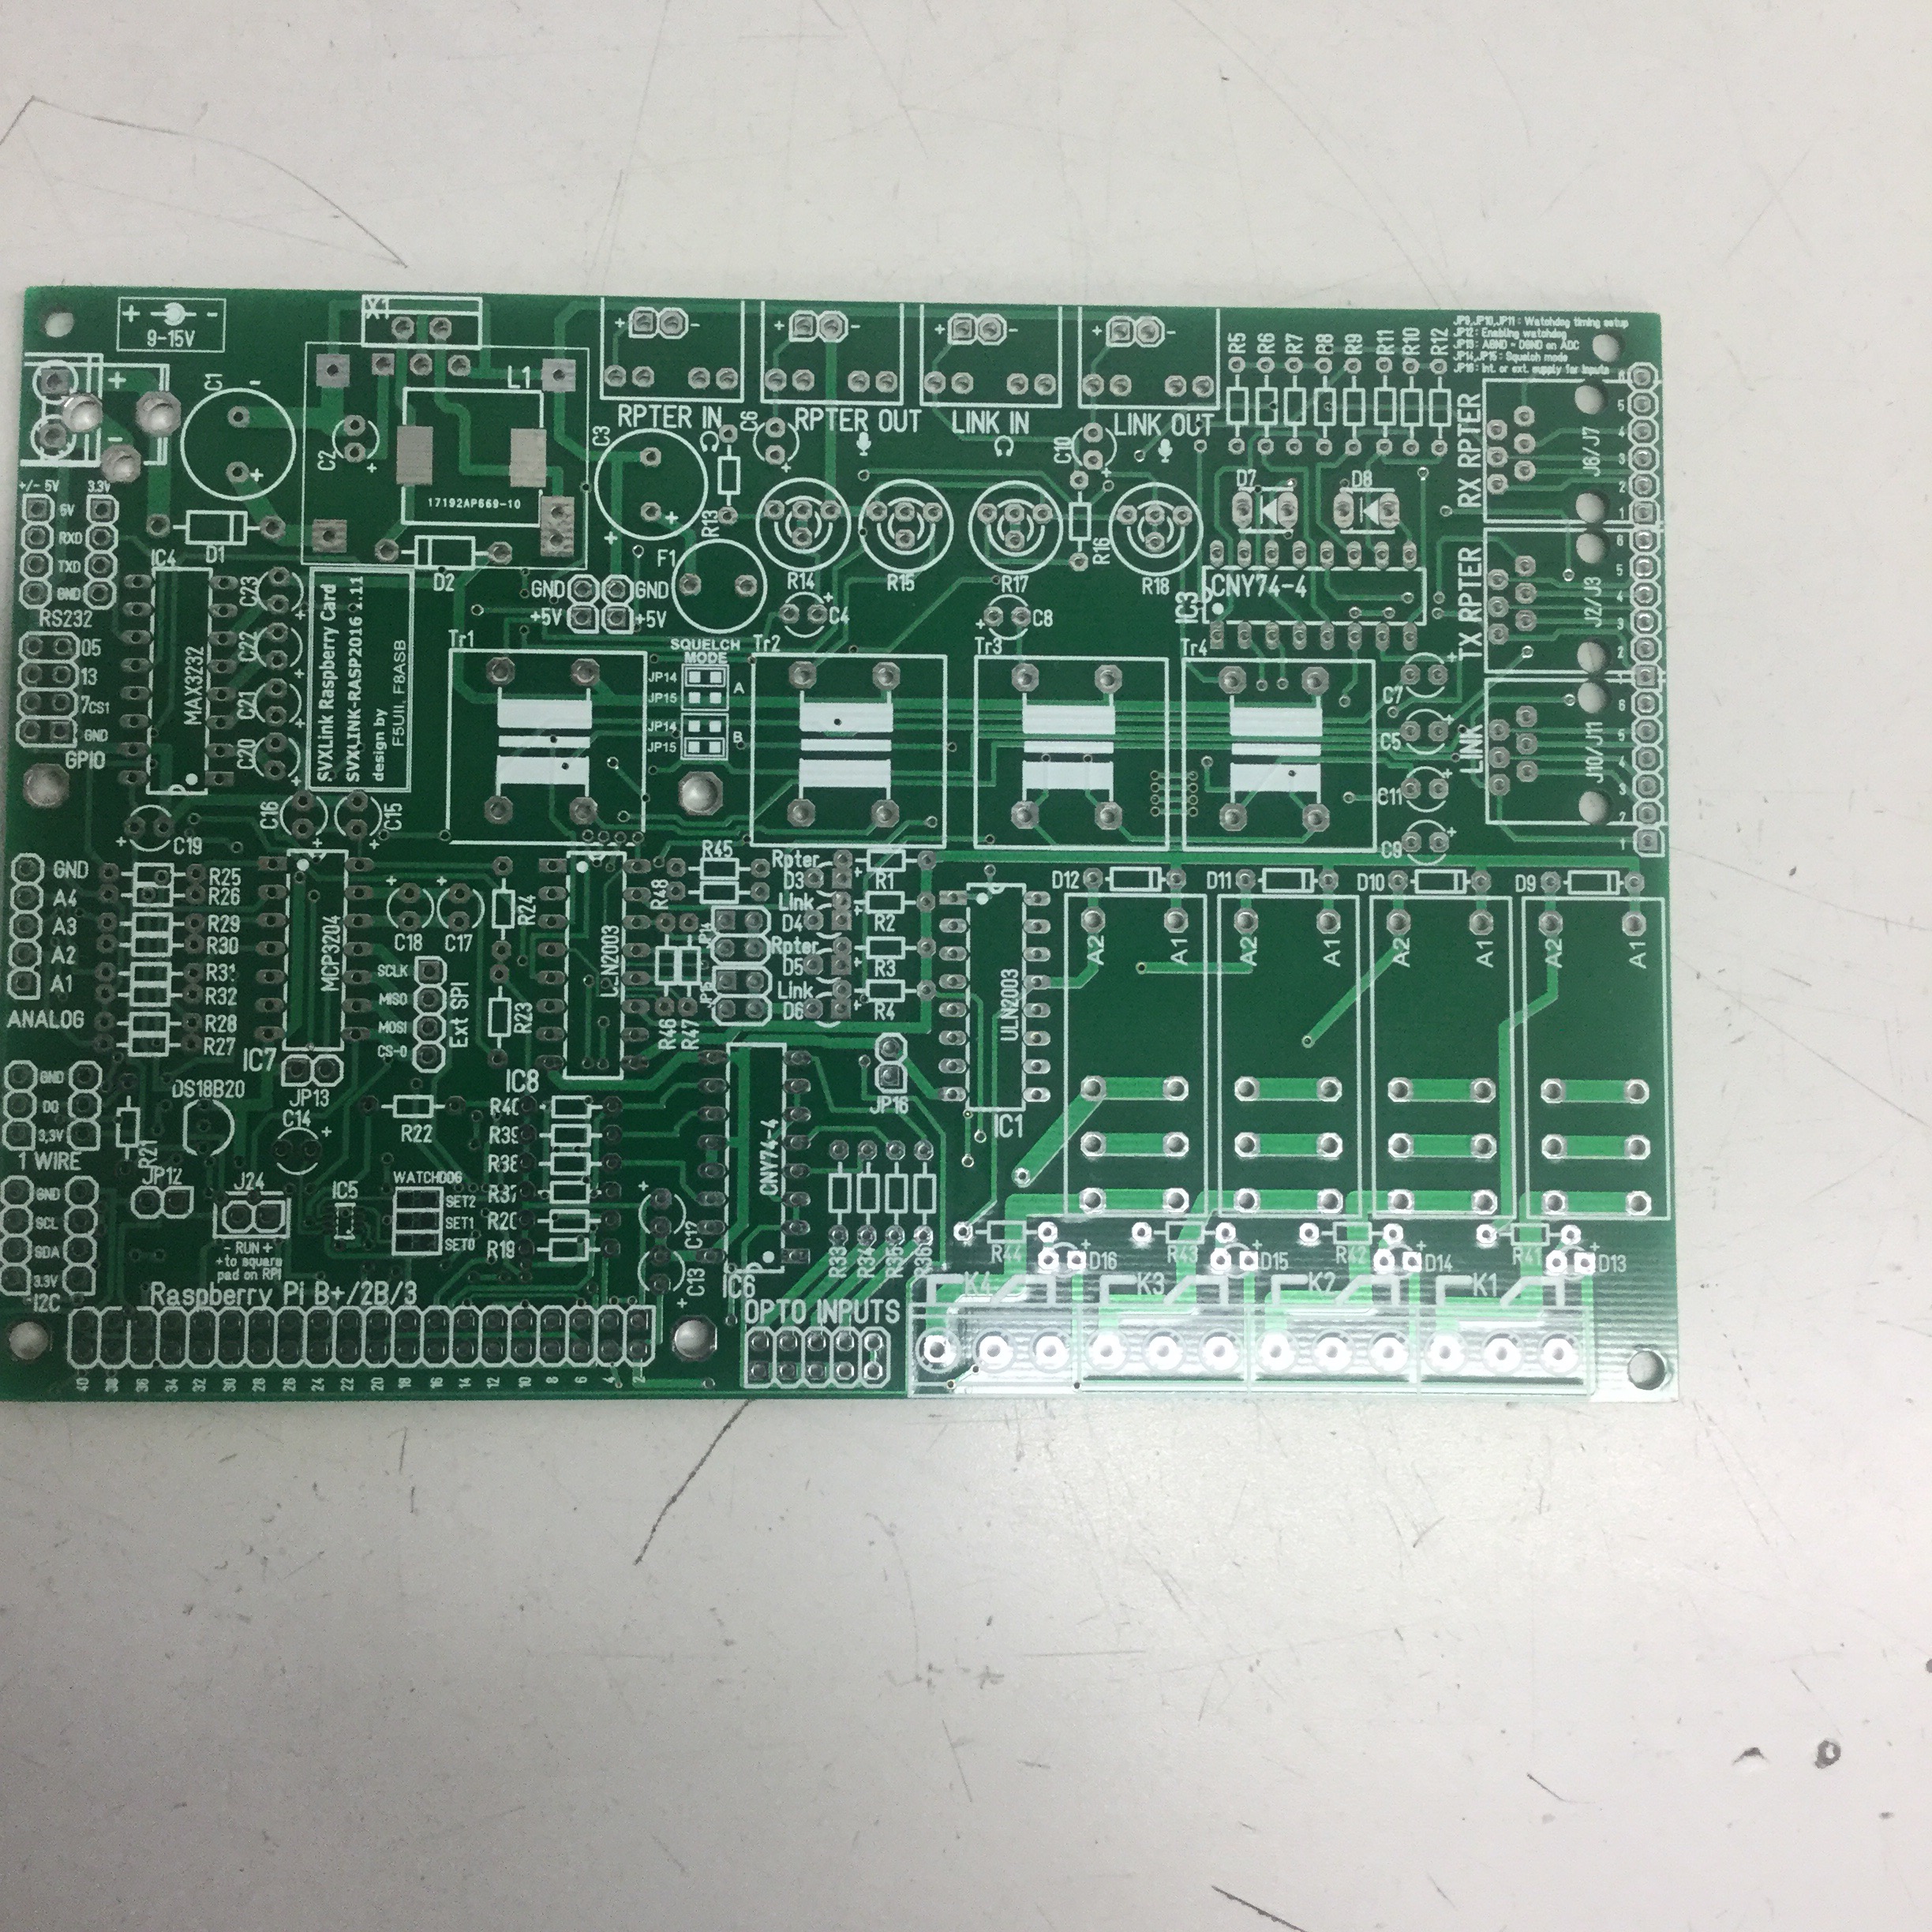
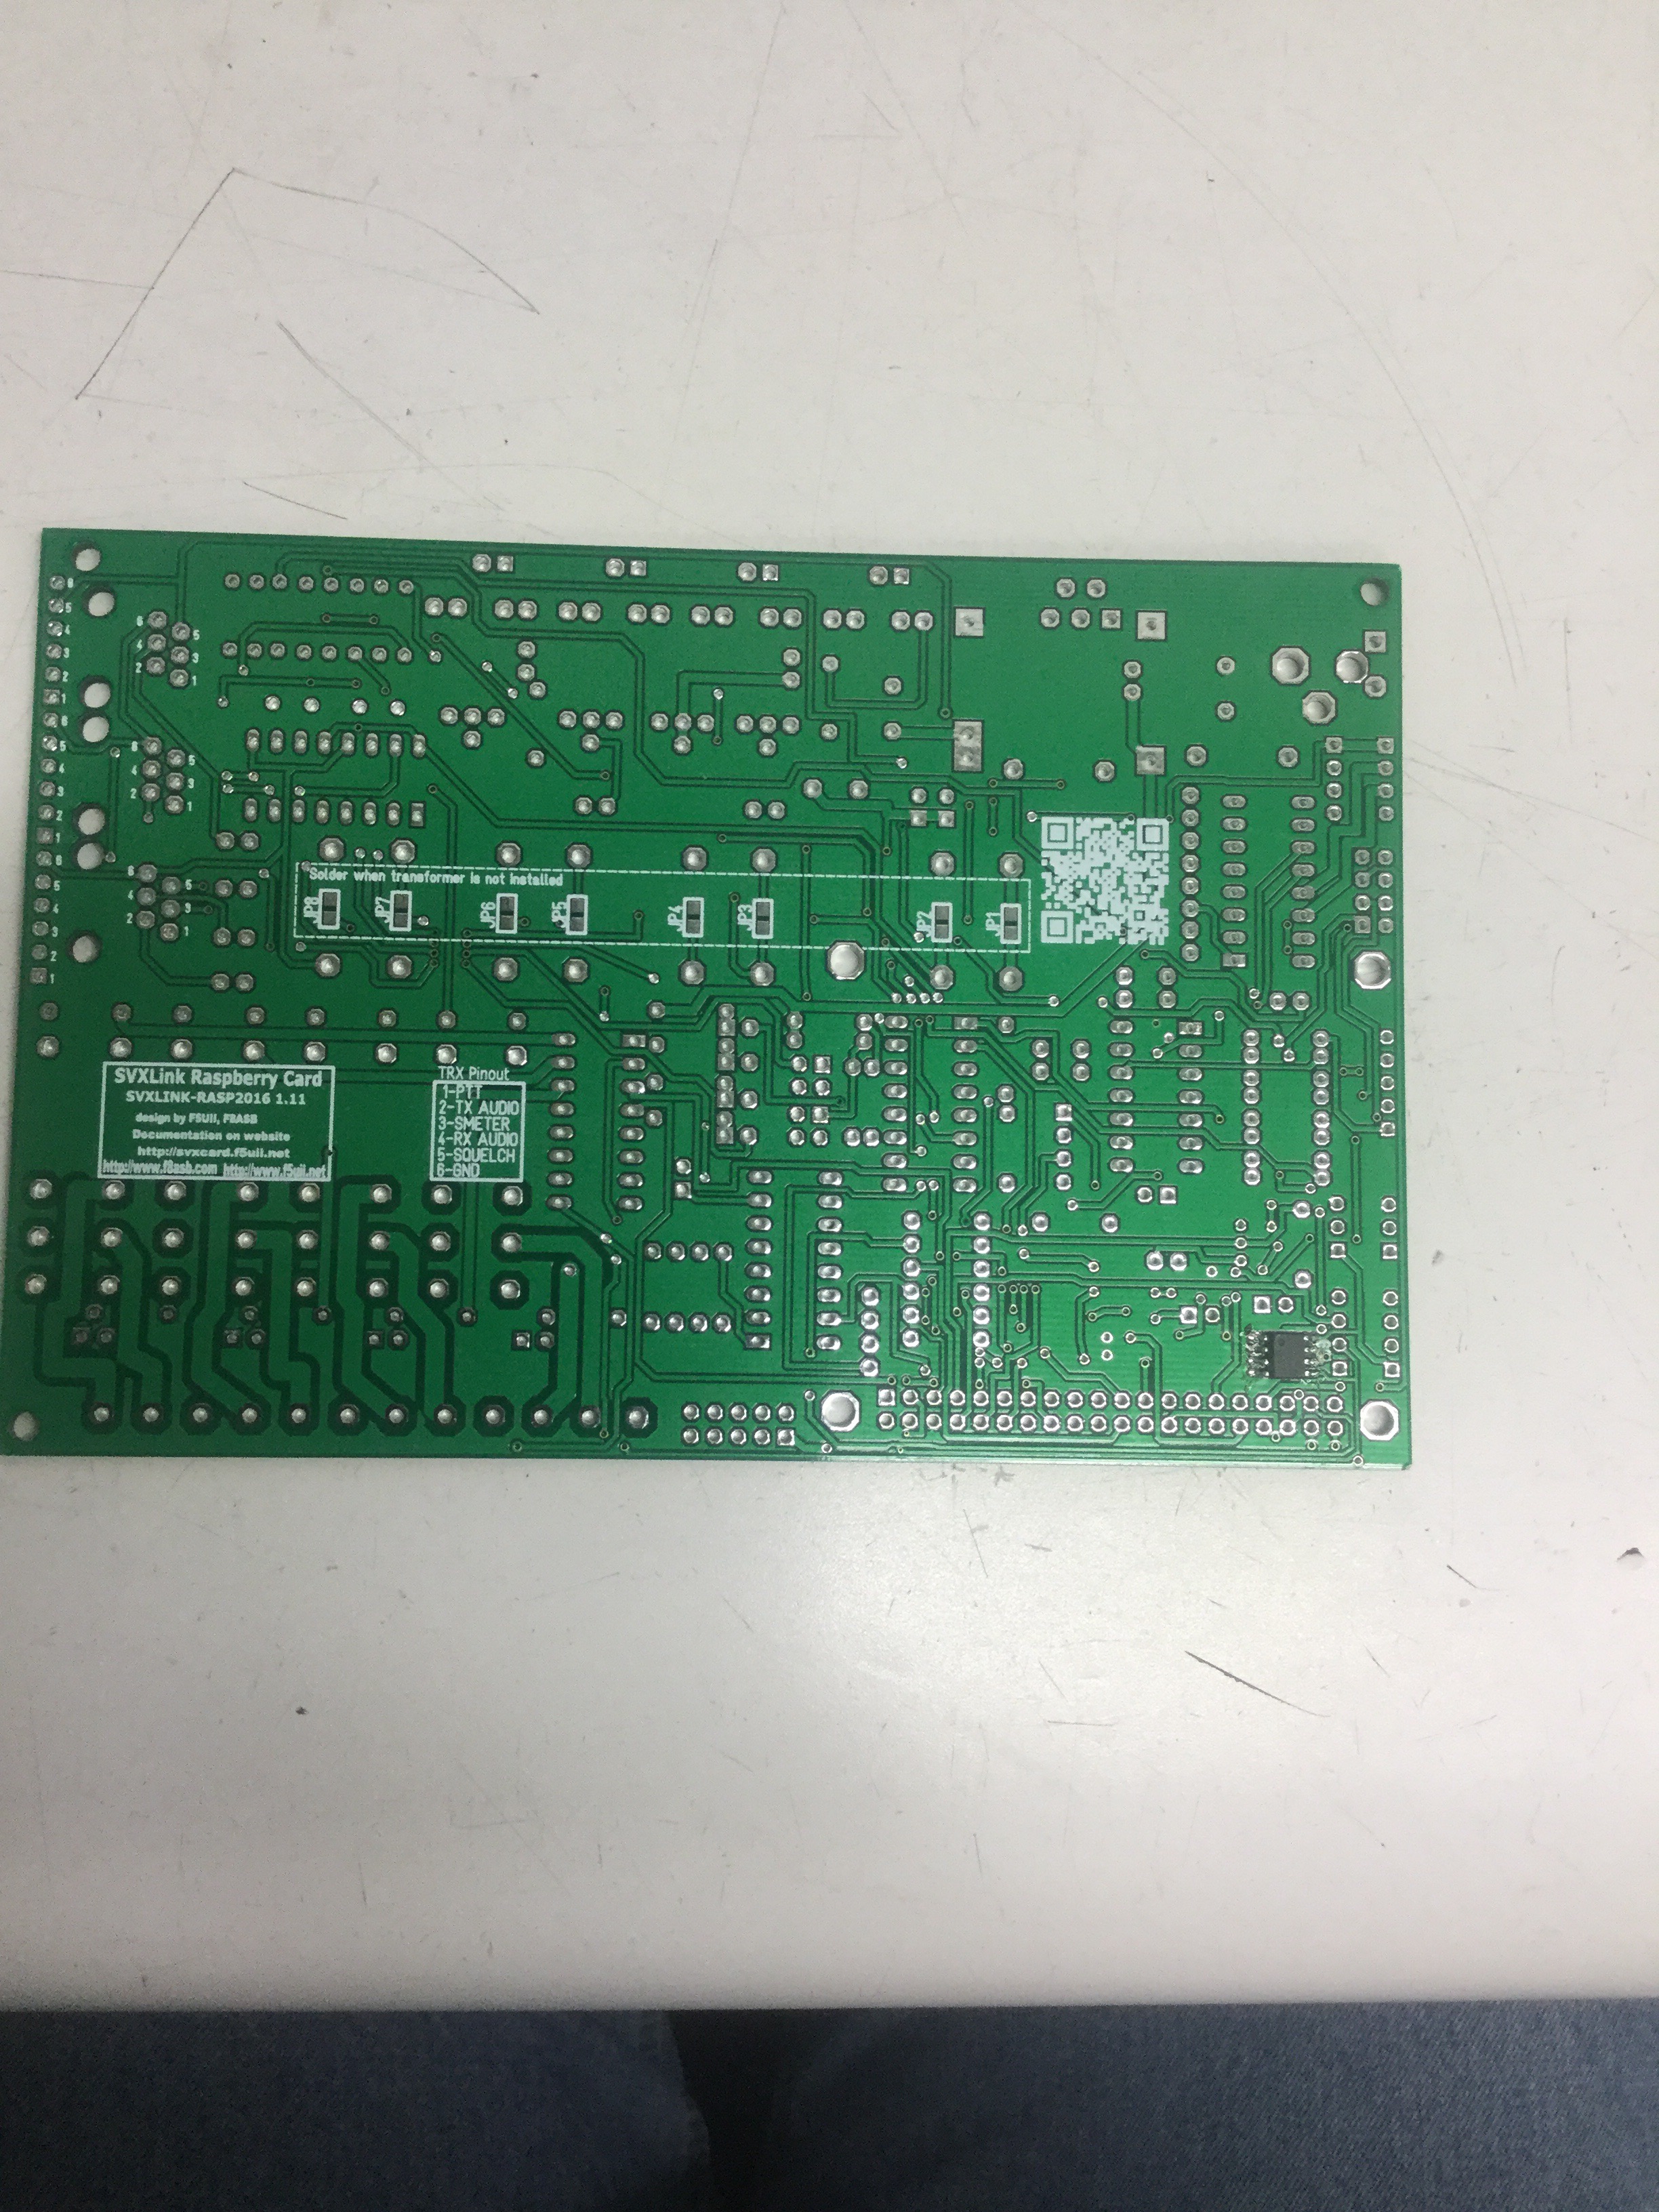
I received the 3 bare boards I ordered in the mail today. Here are a few pictures of the board.
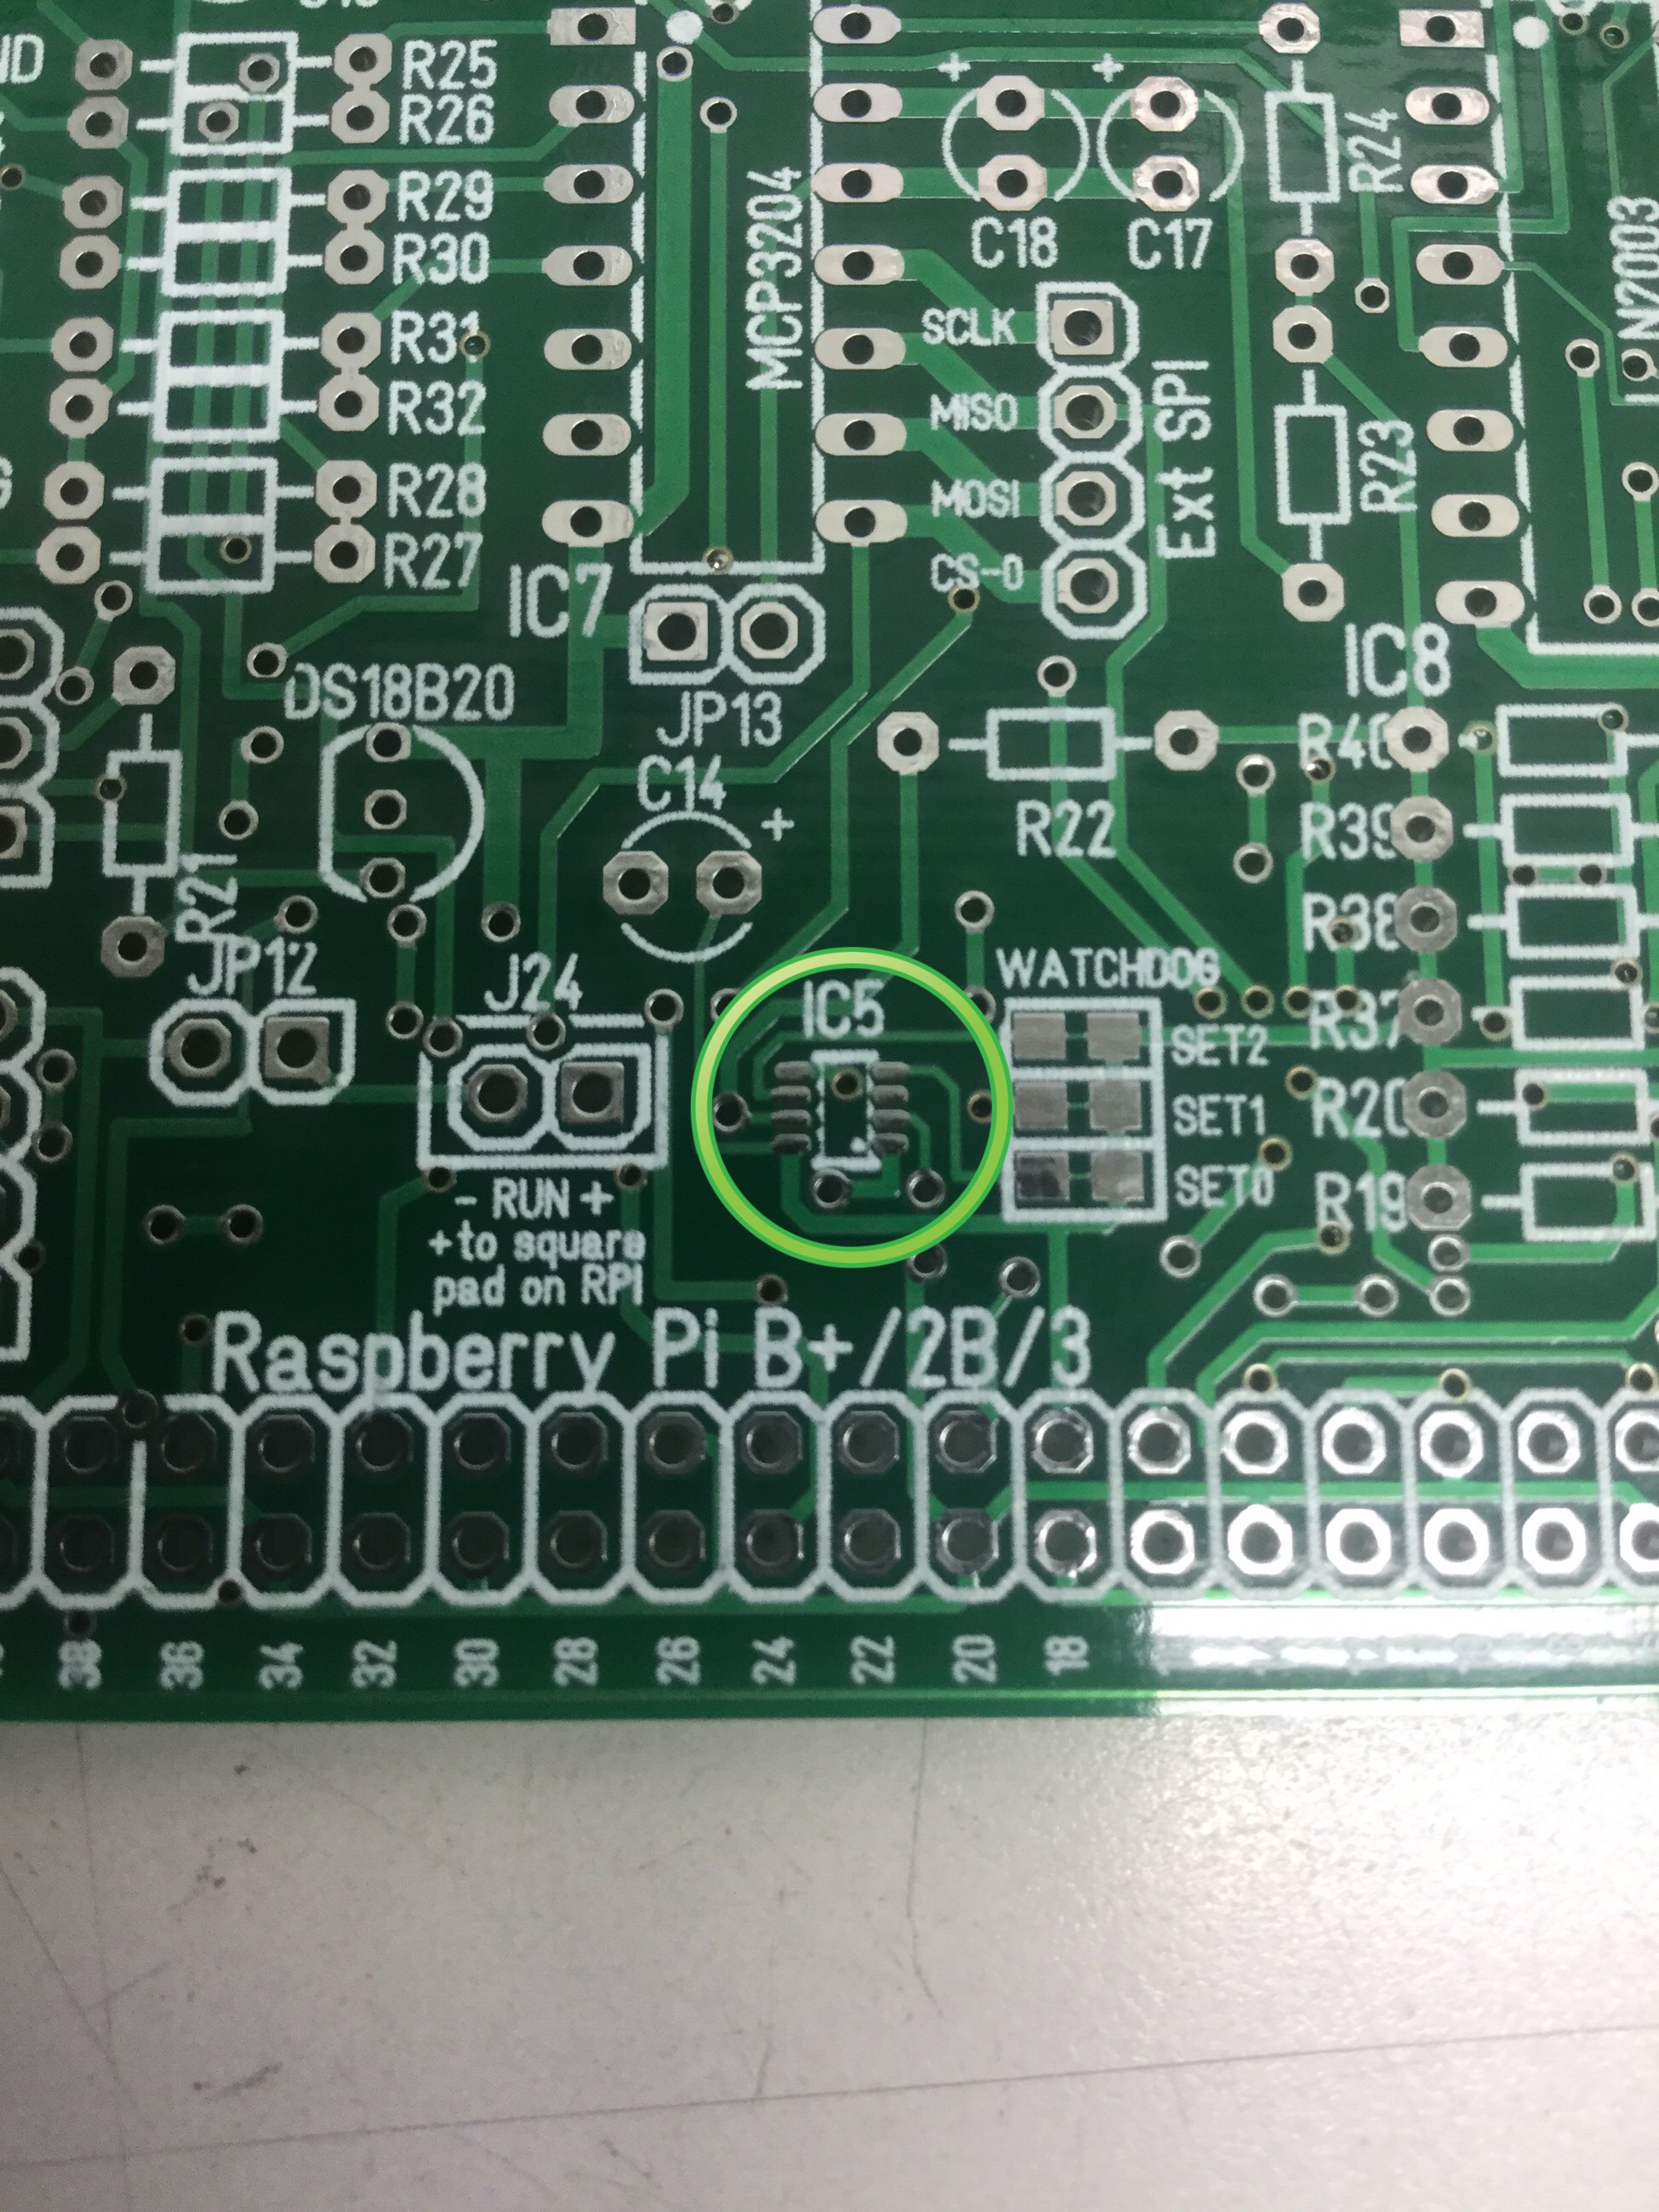
Now that I have the boards in hand, I can start ordering parts. The only tricky part I see is the watchdog ic, its surface mount and very small.
I have ordered the first batch of parts. The project is starting to come together.
10/25/16
My parts arrived a few weeks ago and I have finally been able to get started on the build. I did run into a couple issues. First off, I ordered the wrong diodes for the power supply section. The documentation called for either 1N5820 or 1N5817 for D1 and D2.
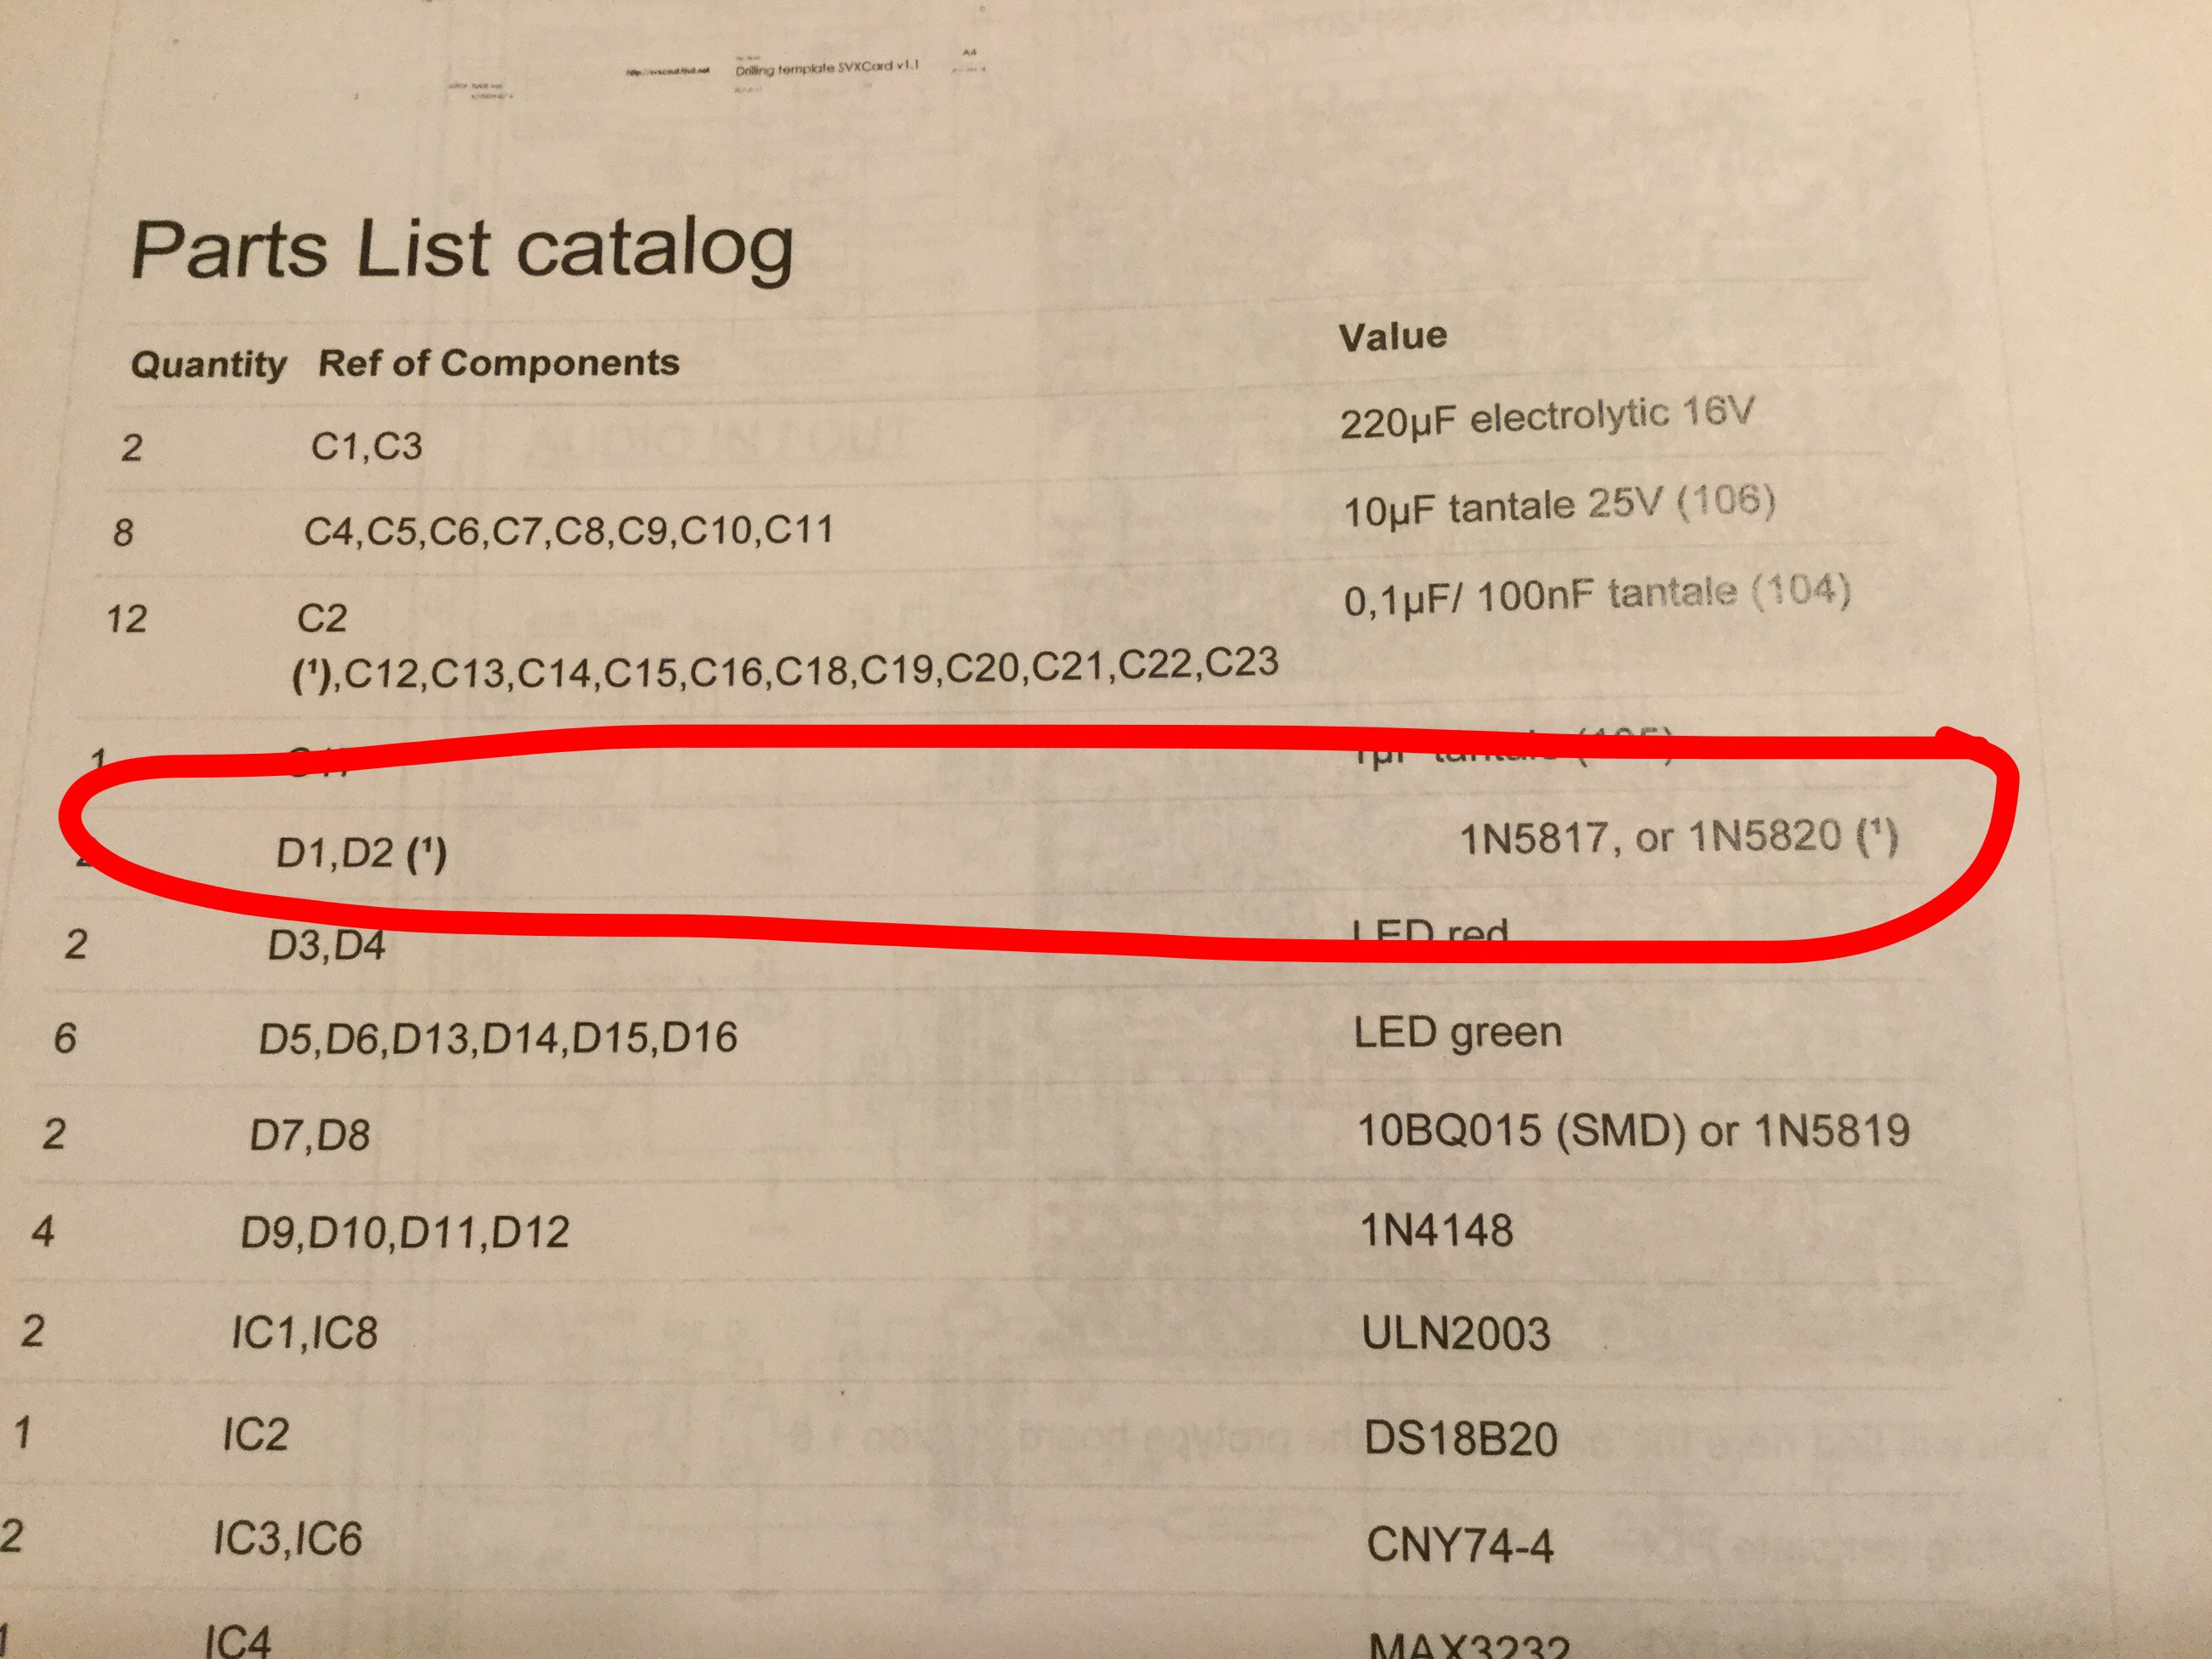
I ordered 1N5820 diodes, it turns out that the lead diameter is too large for the through hole on the board. I built the power supply section and when I got to installing the diodes, I found out about the lead diameter, so I ordered 1N5817 diodes.
Another issue I ran into, by my own error, was the 4 trim pots for the audio section. I didn’t think about size of the components. The ones I ordered were square, compared to the round ones they designed the board for. The parts fit on the board just fine, but nearby components do not.
I found out too, that there are a lot of different configurations of RJ-12 jacks available. It took a bit of searching to find a jack with the correct configuration to fit the board. As an option, they designed the board to use header pins as an alternative to the RJ-12 jacks. I chose to use the RJ-12 jacks for my application. The ones I initially ordered were incorrect and have been returned, I am awaiting the replacements.
Once I confirm the parts all fit, I will post the part numbers needed to assemble the board. I ordered mine from www.digikey.com. I ordered 1 set of parts with my first board order. Those have not shipped yet, they have been ordered by the board designers.
I assembled the power supply section using an lm5025 power supply. It has a current supply of 1.5 amps, plenty enough for the Pi. 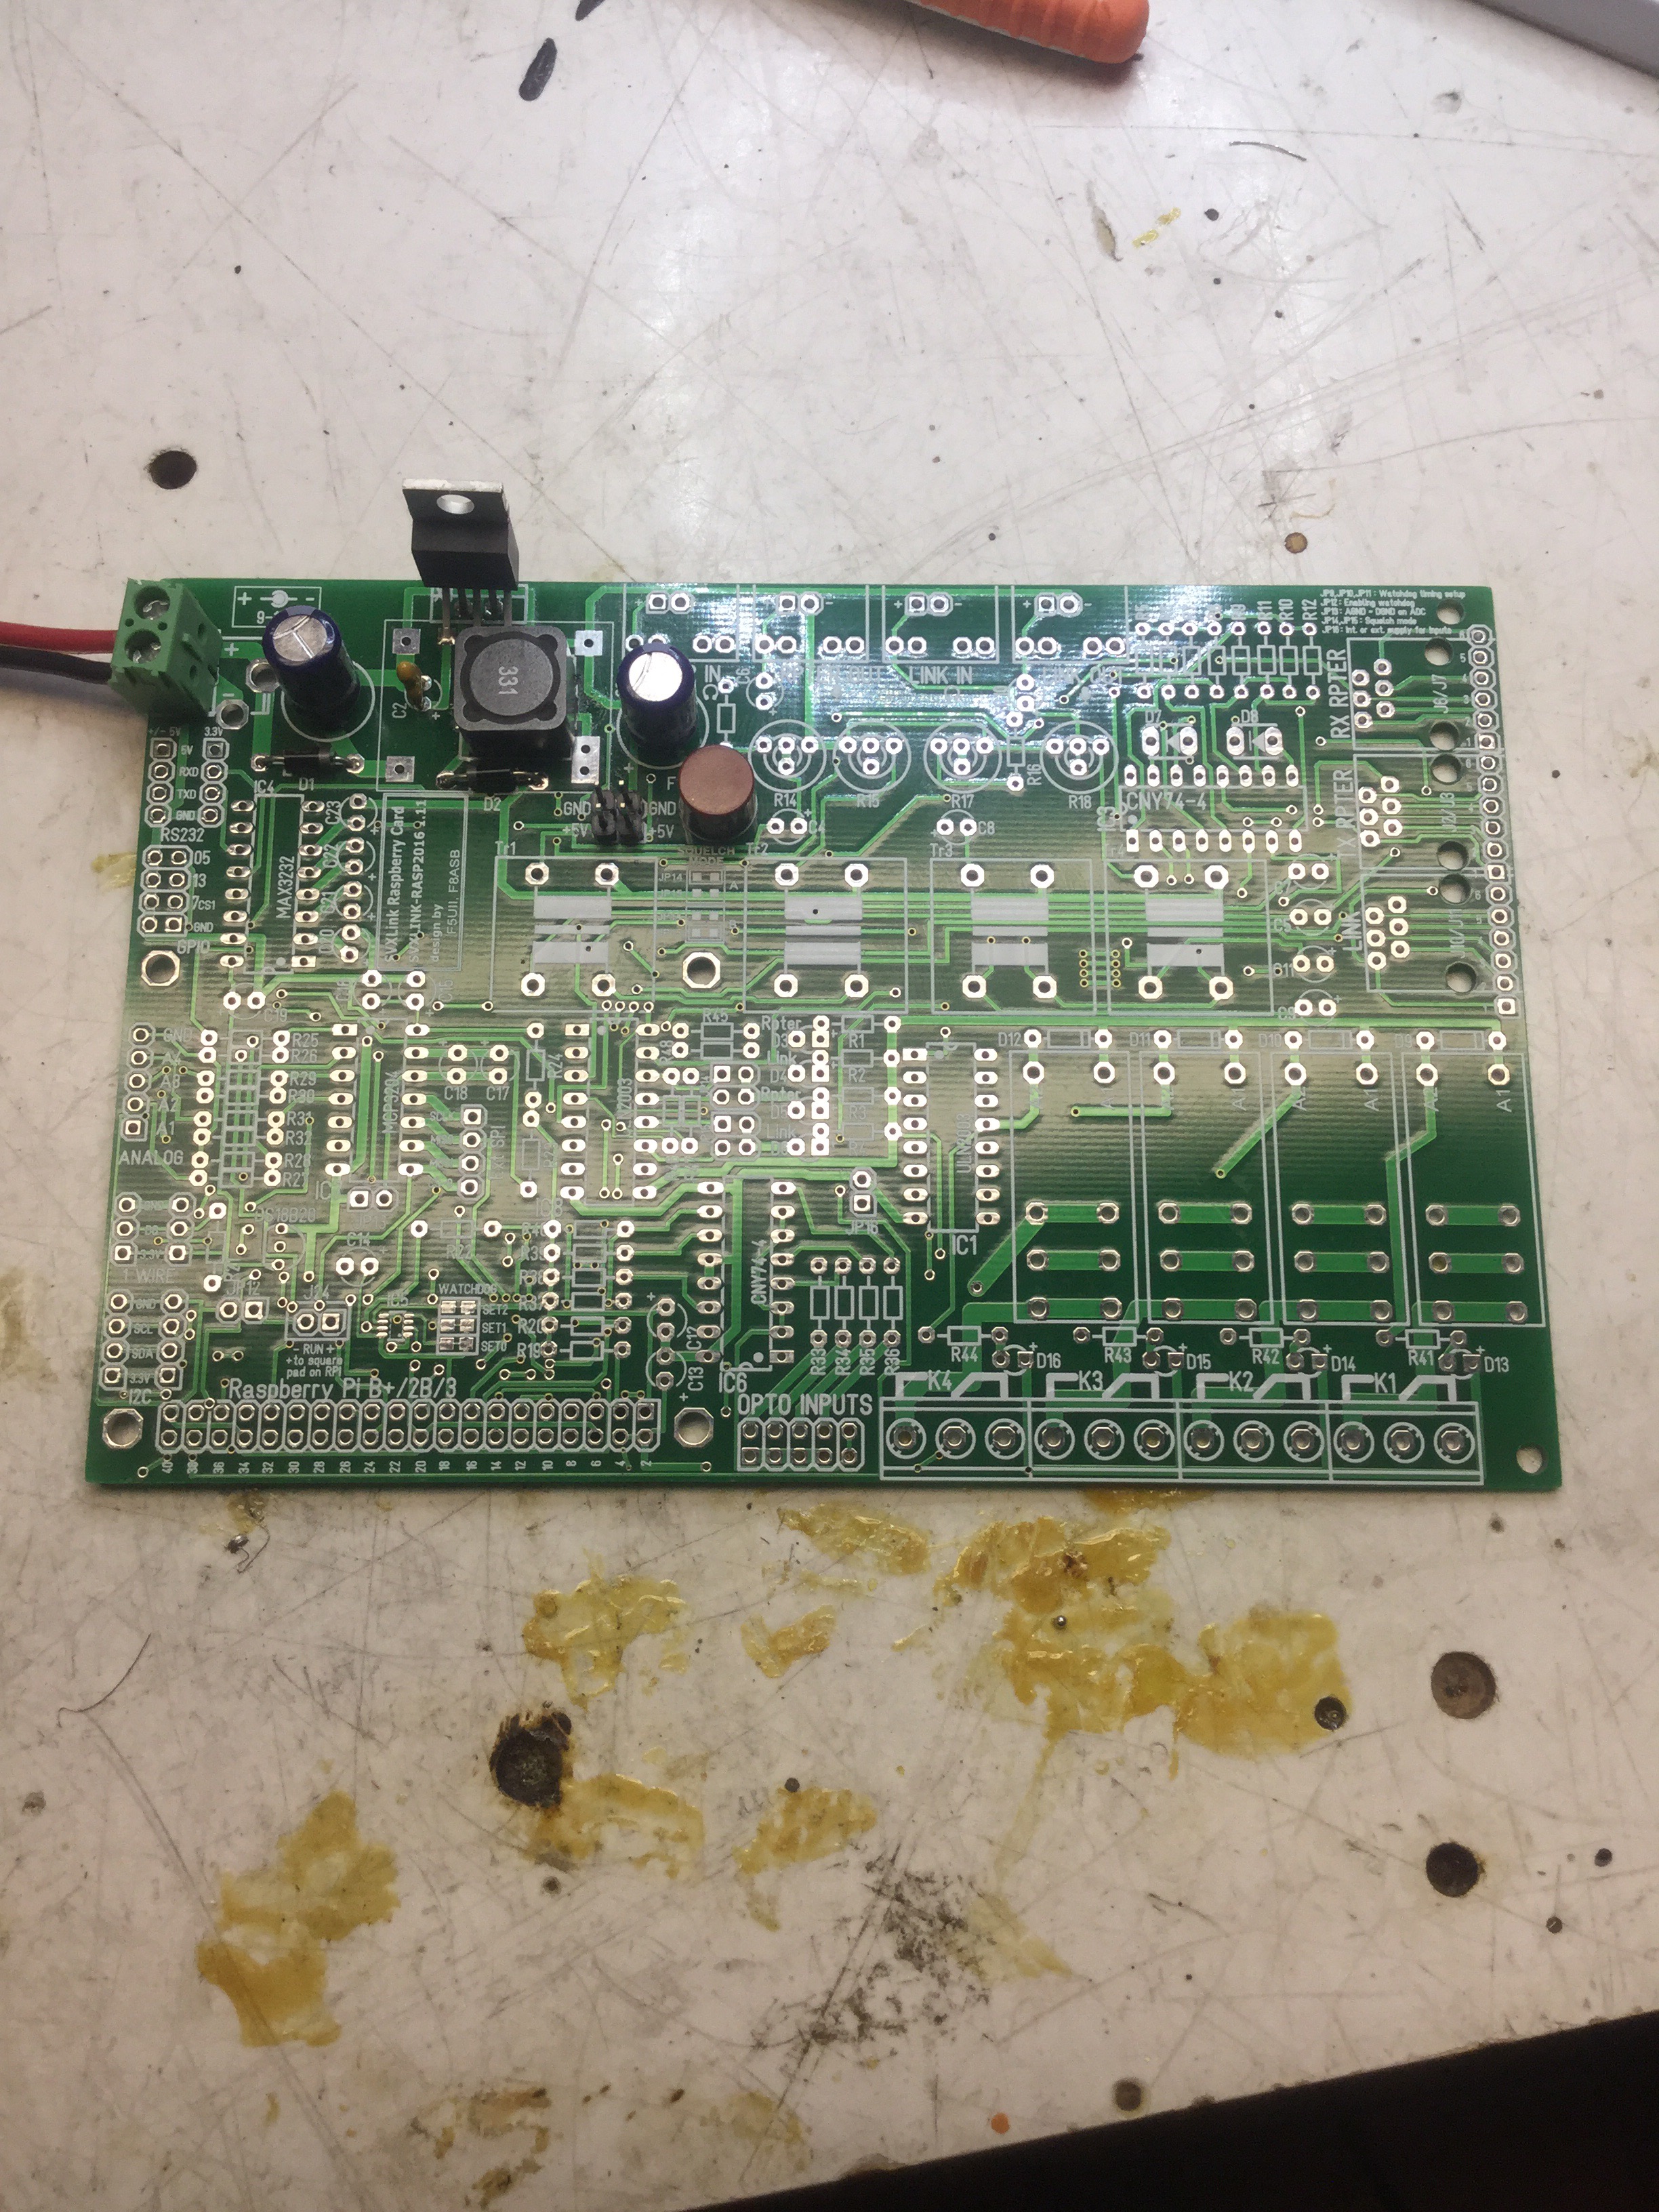
Next, I assembled the analog to digital converters. These are for part of the audio processing and passed along to the Pi.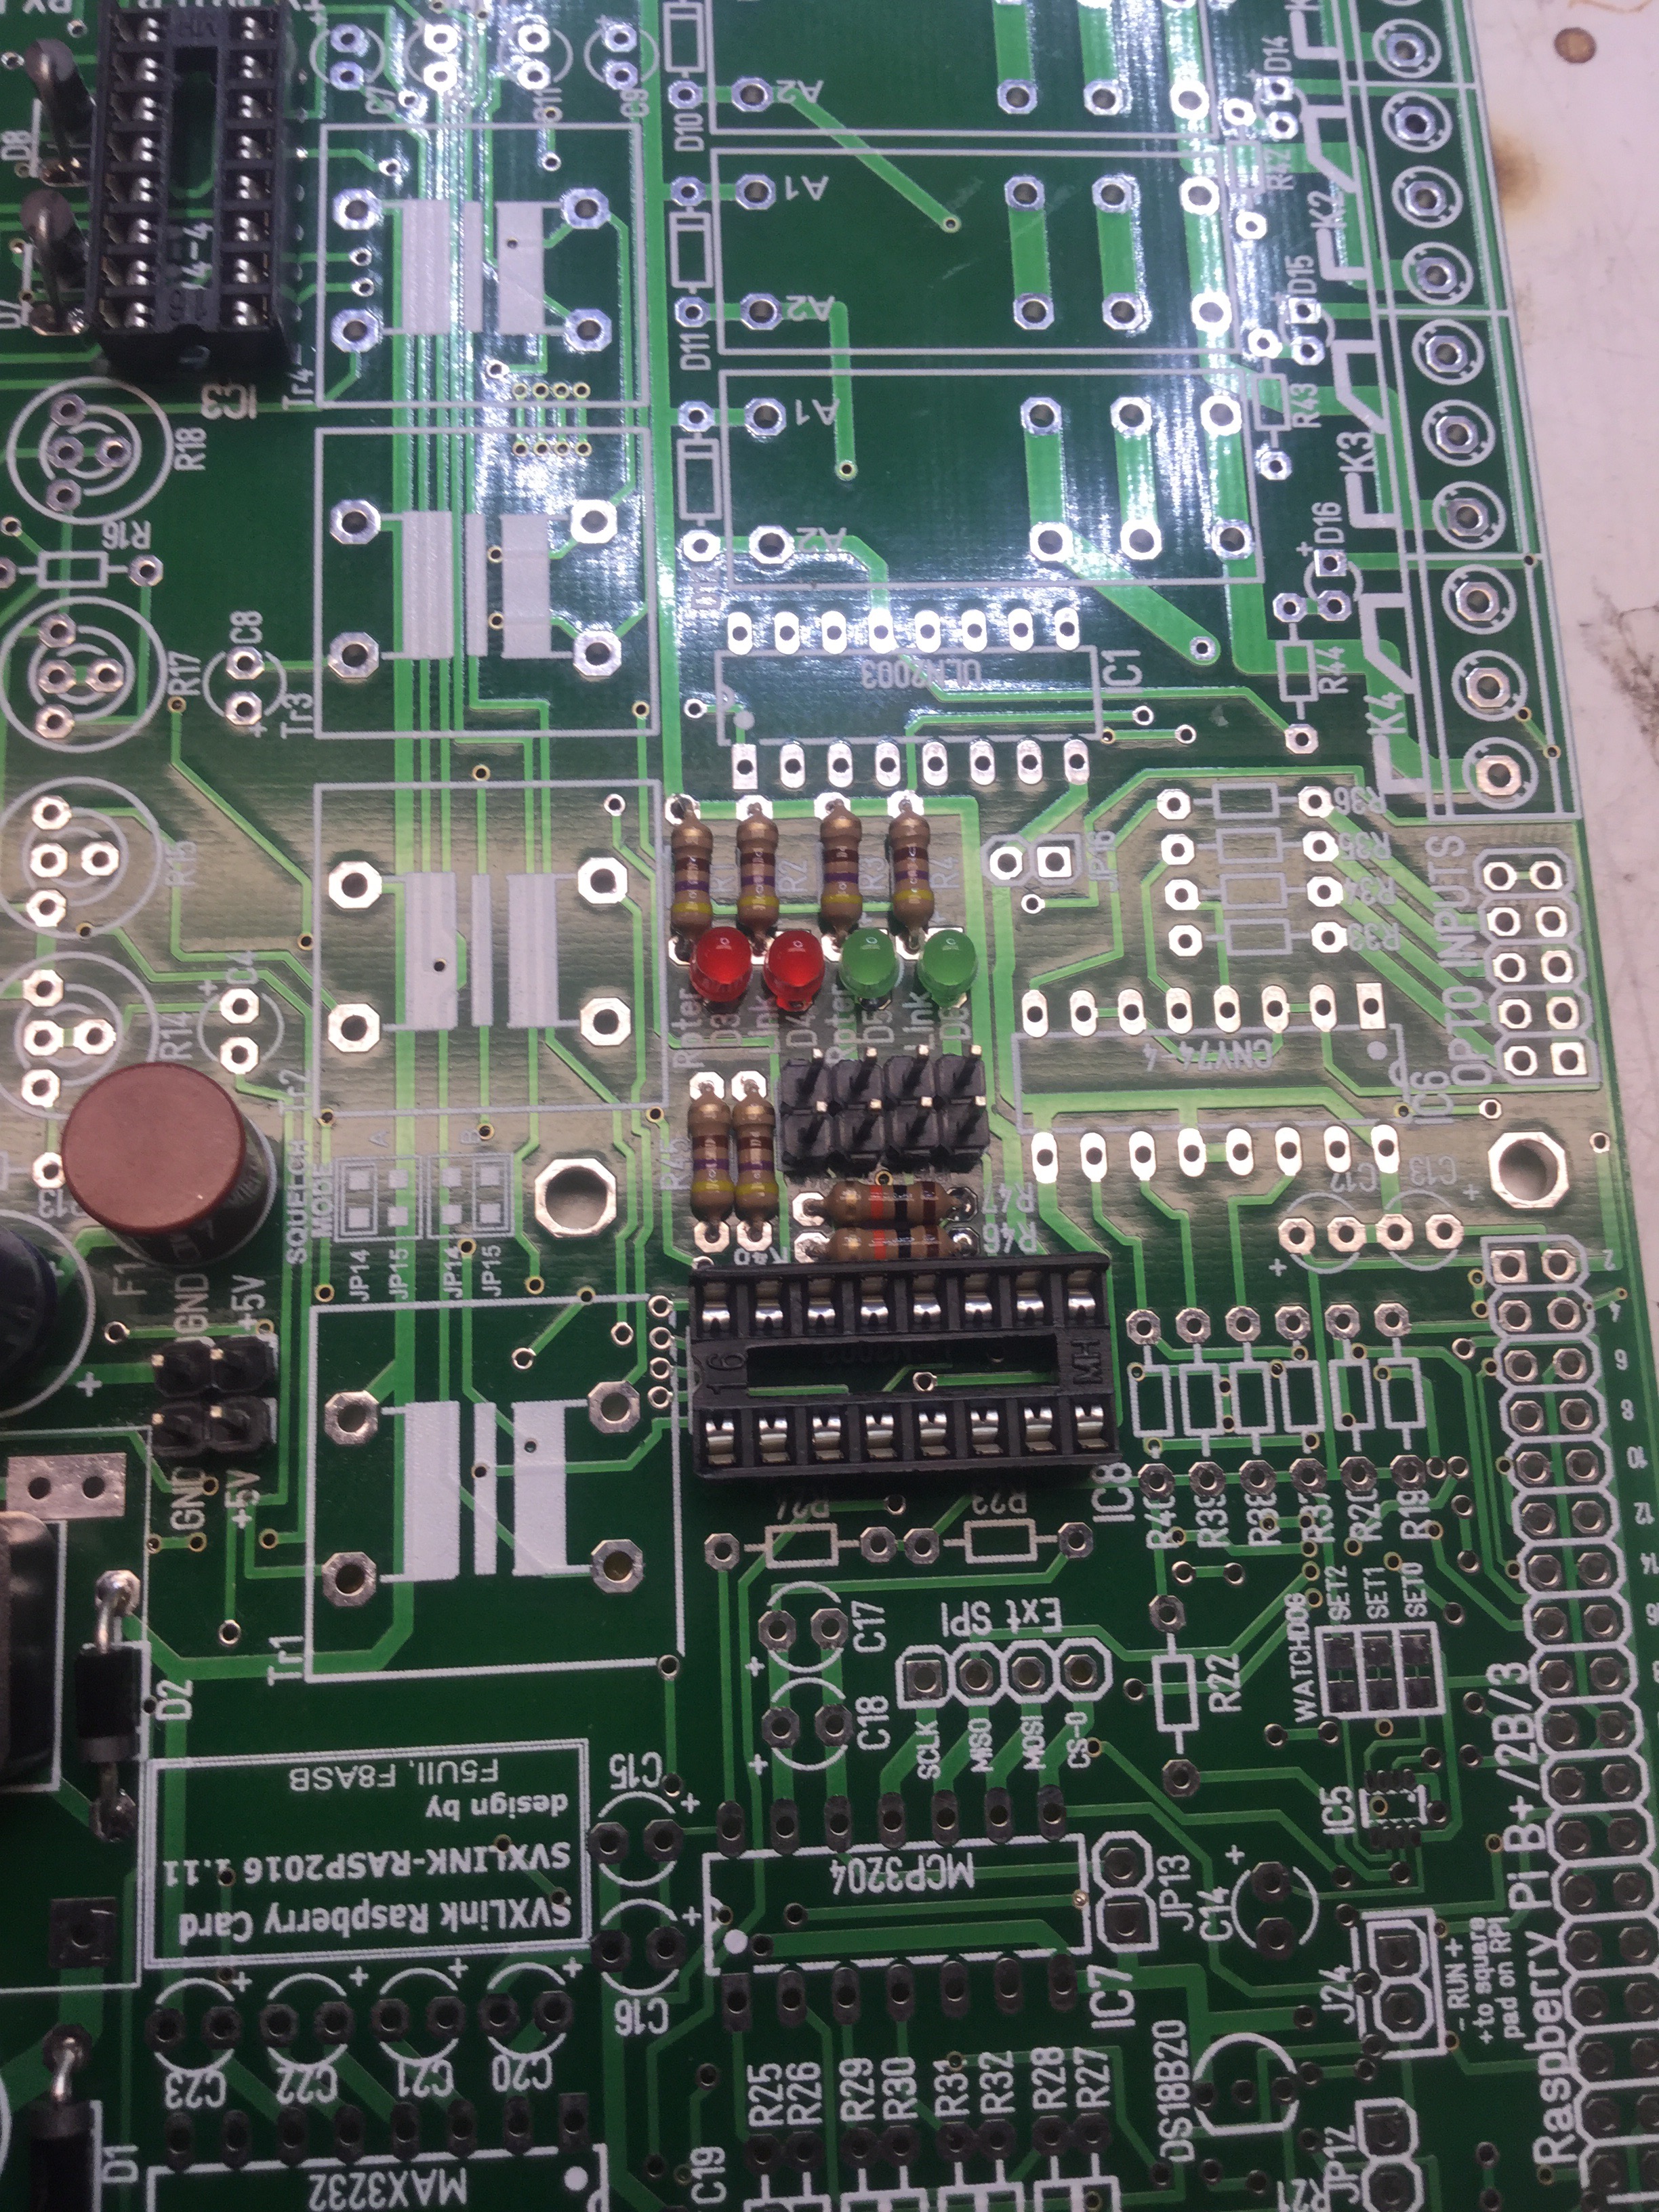
Next step was the audio in and out jacks, level potentiometers, isolation transformers and radio interface jacks.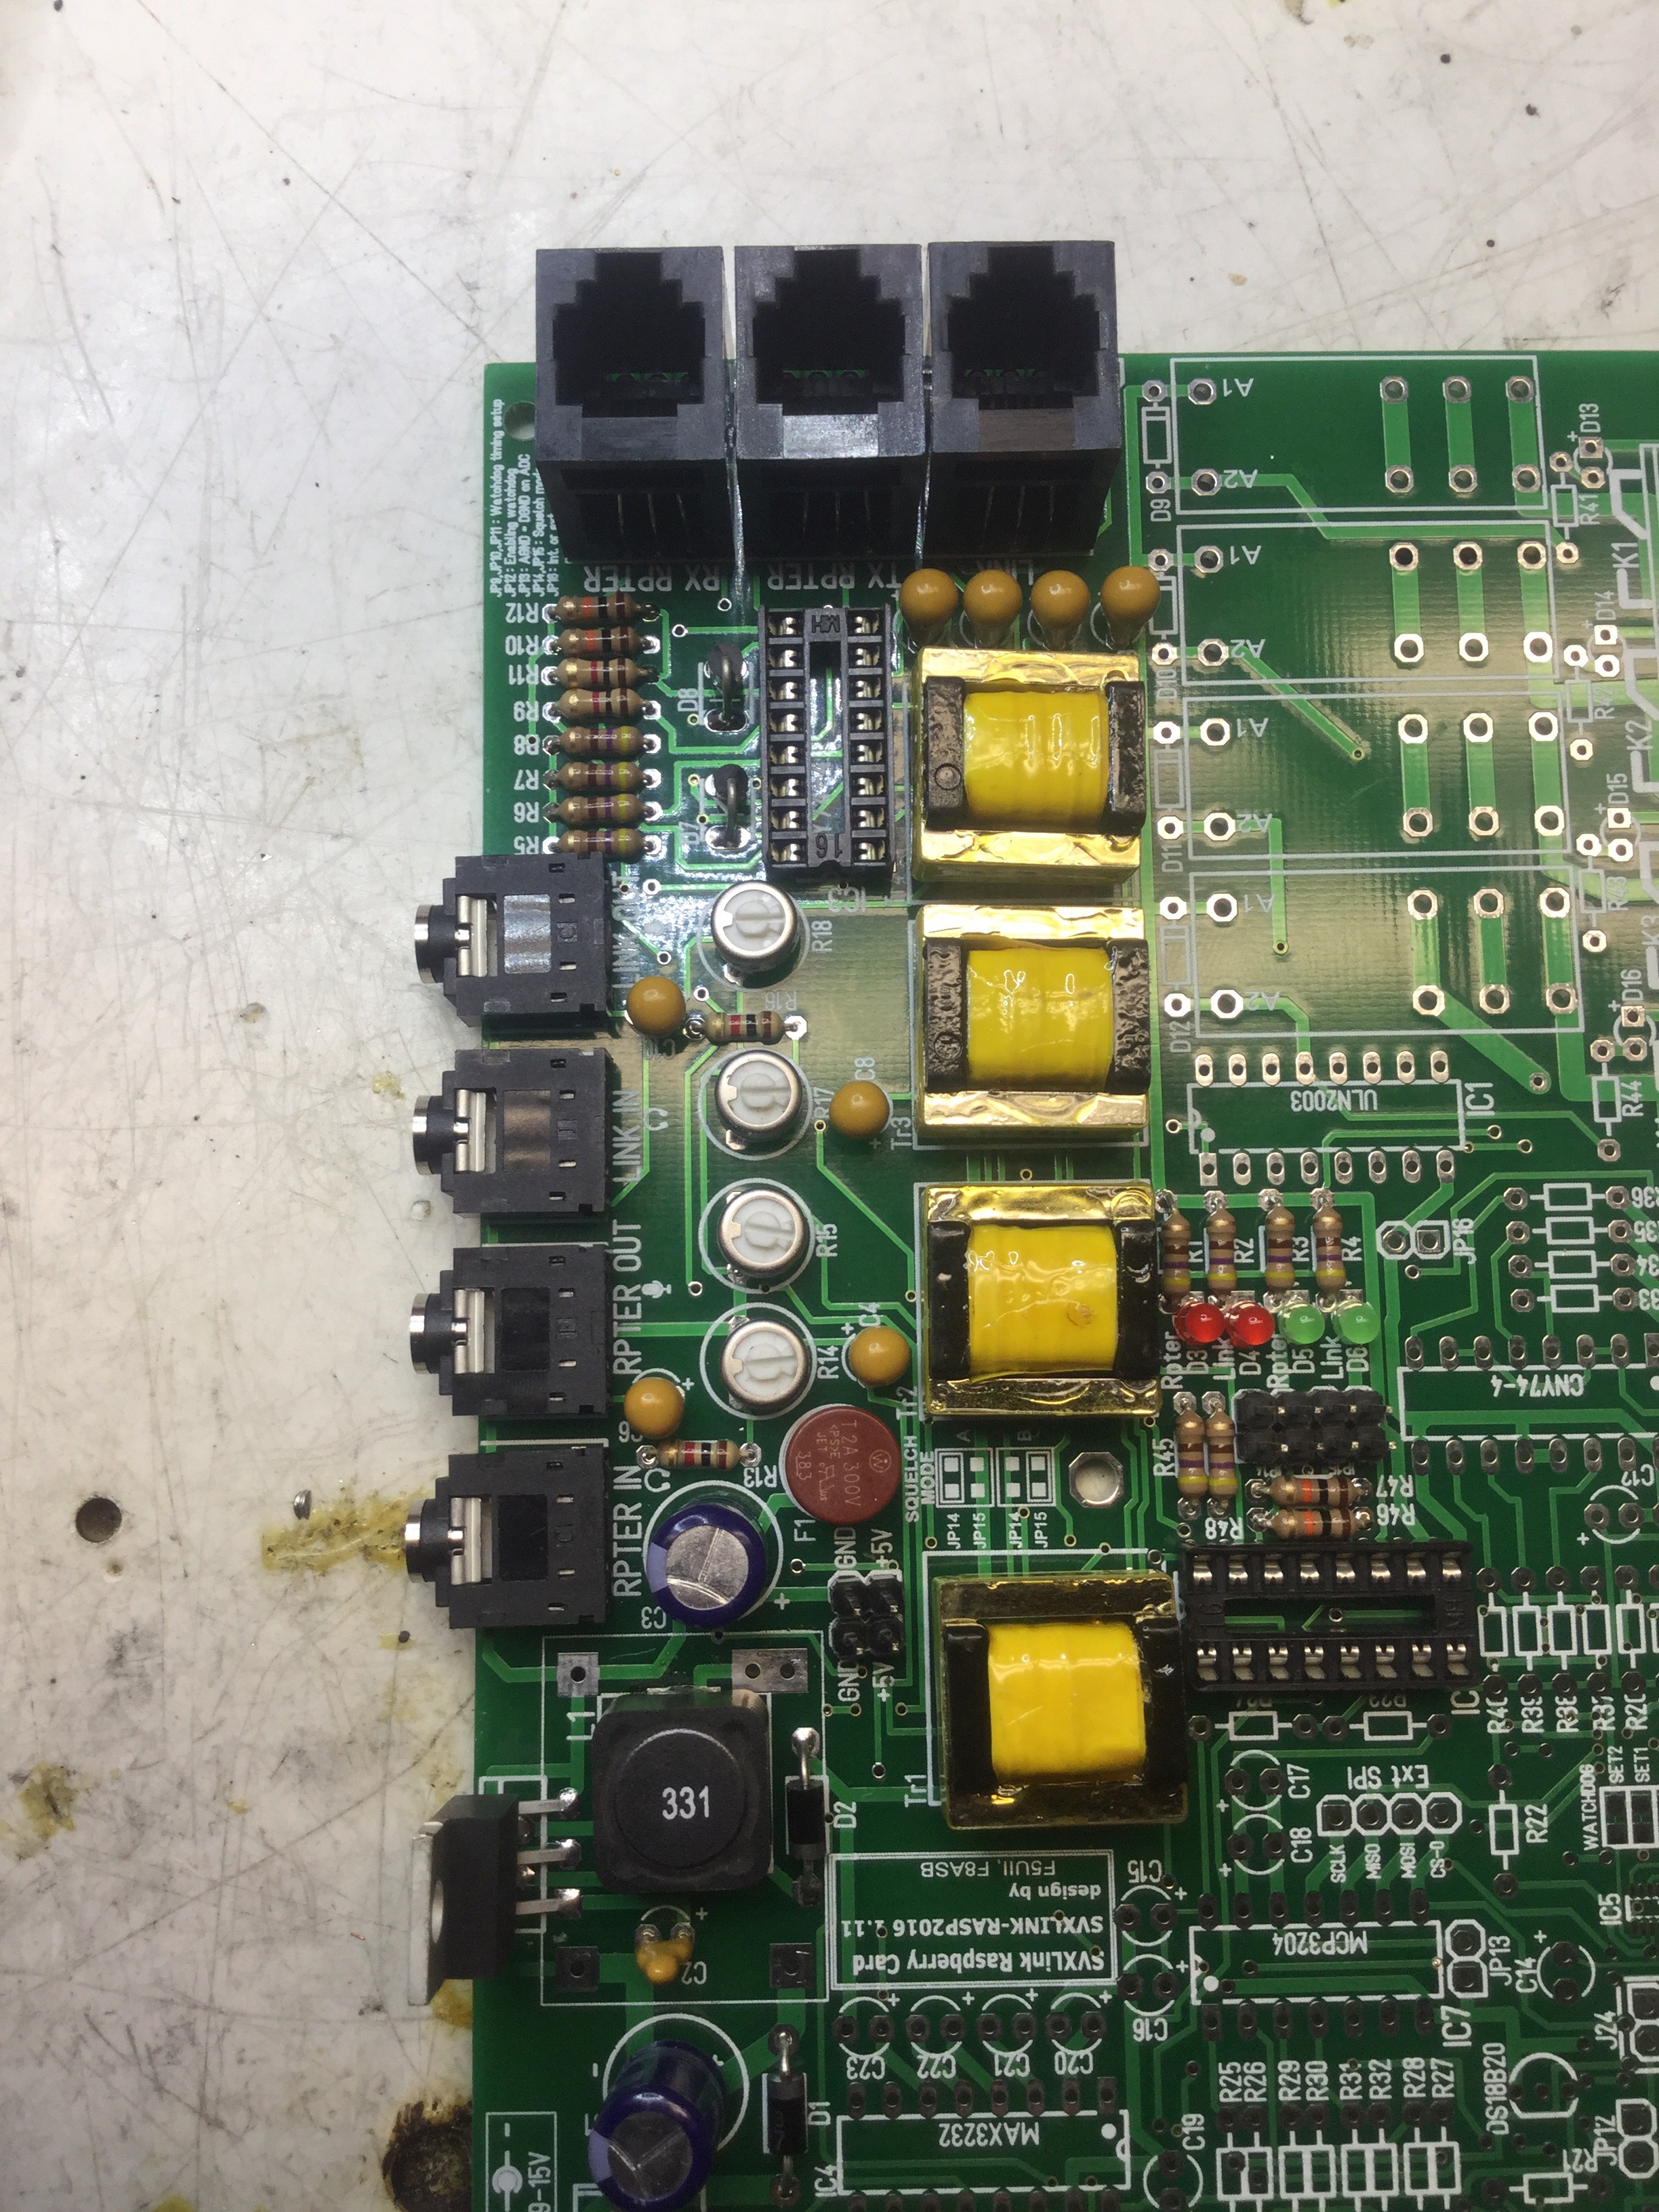
Finally, the relay drivers, relays and header pins for external inputs and outputs.
Everything is complete, now for the testing phase!
Initial testing….
I was able to power it up and checked the internal web server settings. It logs into the echolink servers and shows up on the connected stations list. BUT, due to my ISP, I am not able to pass incoming or outgoing packets to the servers. I am not able to test audio quality at home so I am going to continue with building the cable to connect a radio to the board. I have a baofeng uv-5r that I will use for initial testing. The link will be hosted by a fellow ham who is closer to the repeater and has a more reliable internet connection. Keep an eye out for echolink node #443925, KB0FXK/R. We hope to have the link on the air in the next few weeks.
I will post updates as they happen.
73 for now…………..check back often
Software woes.
The software I was planning to use was “open repeater” which includes an echolink module. After many hours of testing and frustration, I have determined that it will not work for the application I am using it for. I am changing directions, and decided that I will just run svxlink directly on the Pi. I will still use the board for audio handling and radio control.
